ventura beach cottage
  • Home
  • the remodel blog

The remodel.

We finally realized our dream to own a beach house. But it's a big project as we have decided to remodel the entire house. It has a great location, wonderful ocean views and "great bones" but we want to make it "our own".

Check out my art

making pillows

8/26/2013

2 Comments

 
Picture
Picture
Step #1
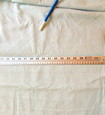
Cut one piece of fabric 22" wide x 43" long. I left the fabric folded and cut a piece 22" wide. The width of the fabric was 45" wide, so I cut off 2" from the width.

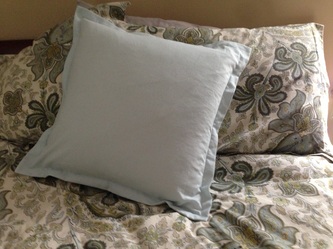
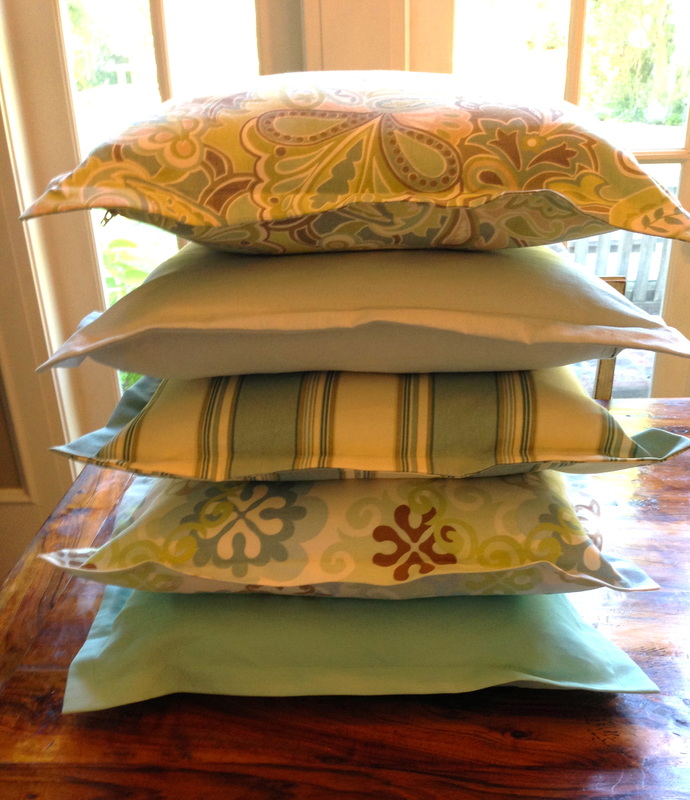
After shopping everywhere for pillows I decided I needed to make my own. I wasn't happy with the fabric selection of the ready-made pillows and the prices (ranging from $35 - $90) were crazy. After a quick trip to the fabric store (Joann's and Michael Levine in downtown Los Angelels) and IKEA (for down pillow inserts) I was all set. My cost for a 20" x 20" pillow is about $11.00.
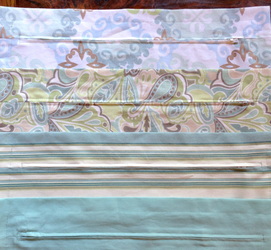
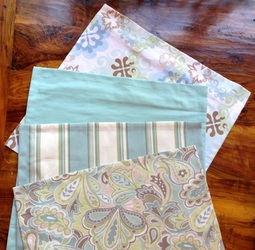
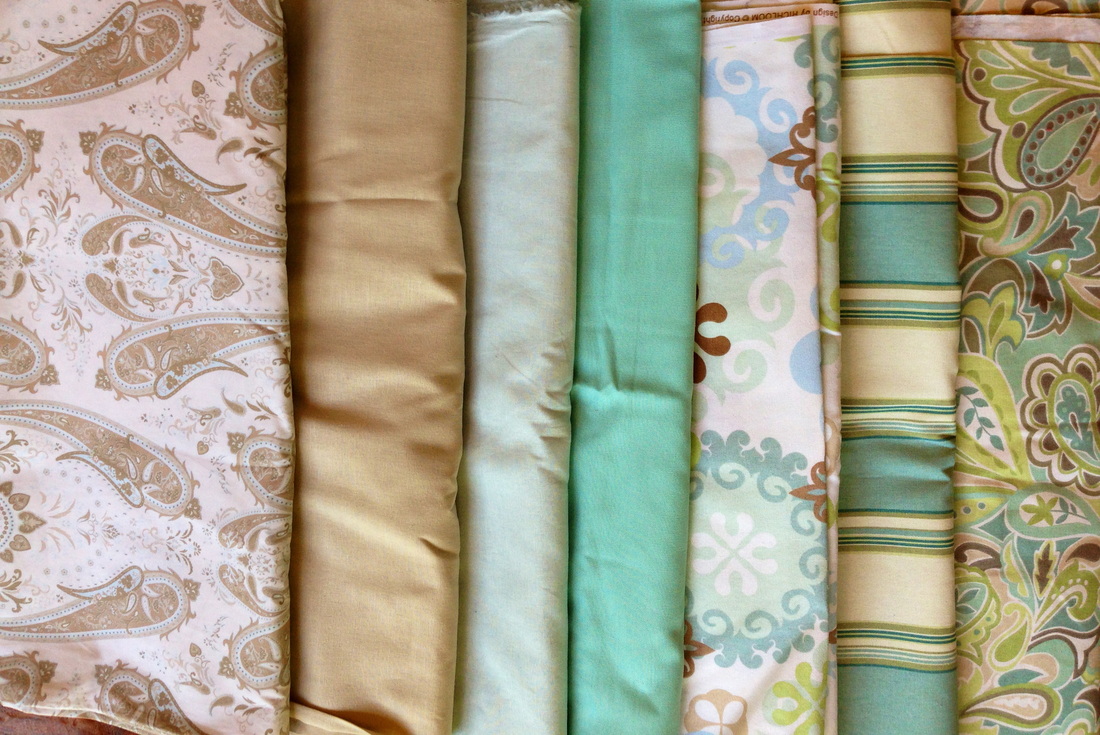
The fabrics above represent all of my purchases. I think I bought enough fabric for 12 throw pillows and four floor cushions. I thought I would share how easy it is to make them!

What you will need:
20" x 20" down pillow insert (of course you can use any size) (cost was $6.00 at IKEA)
2/3 yard fabric (45" wide) (fabric was $4.00)
18" zipper (cost .50)
thread
iron and ironing board
Picture
Step #2
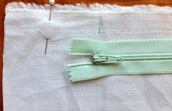
Fold the fabric so you have a folded piece measuring 22' x 21 1/2". Measure 2" in from both sides of the 22" length side and mark with chalk. The opening in the middle between the chalk mark is for your zipper and should measure 18".
Picture
Step #3
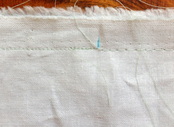
All seam allowances for the pillow are 1/2". Sew a two inch seam from the edge to your chalk mark on both sides. 
Baste the remaining zipper opening with a long stitch. Do not backstitch.
Picture
Step #4
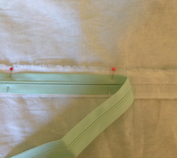
Press open the basted seam and pin the zipper on top. 
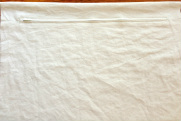
Picture
Step #5
Using a zipper foot, sew in the zipper. Remove basting thread.
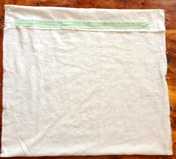

Picture
Step #6
Turn the fabric right side in and fold the fabric above the zipper down 2 1/2". This allows room for the 1" sewn border that we will add at the end. If you put the zipper on the edge, you can't add the 1" border. Pin both sides and sew a 1/2" seam on both sides. Be sure to open the zipper about 6" before you sew the edges or you won't be able to turn it right side out! (I found this out the hard way  on the first one ...)
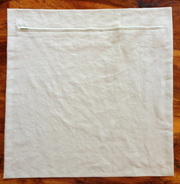
Picture
Step #7
Turn pillow right side out and press. Stich a 1" border all the way around the outside edge of the pillow. 
Insert down pillow form. 
You're done!
Picture
2 Comments
Jewel
8/26/2013 02:57:58 am

Good idea putting in zippers. That way you can wash them. I would have done it the easy way and just sew up all the sides real quick. But, you make it look easy here. Thanks for the step by step.

Reply
Lynda Crawford
8/26/2013 09:37:33 pm

You are very good at explaining things step by step.
Thanks so much.
I will be making these lovely looking pillows.

Reply


Leave a Reply.

    Enter your email address:

    Delivered by FeedBurner

    Author

    I am a mom, wife, artist and someone always looking for a "new project". According to my husband, this might be my biggest "project" yet.

    Archives

    November 2013
    October 2013
    September 2013
    August 2013
    July 2013

    Categories

    All
    Beach House
    Remodel

    RSS Feed

Leslie Saeta
lsaeta@saetastudio.com
626.799.8507
My art can be found here.