ventura beach cottage
  • Home
  • the remodel blog

The remodel.

We finally realized our dream to own a beach house. But it's a big project as we have decided to remodel the entire house. It has a great location, wonderful ocean views and "great bones" but we want to make it "our own".

Check out my art

making pillows

8/26/2013

2 Comments

 
Picture
Picture
Step #1
Cut one piece of fabric 22" wide x 43" long. I left the fabric folded and cut a piece 22" wide. The width of the fabric was 45" wide, so I cut off 2" from the width.

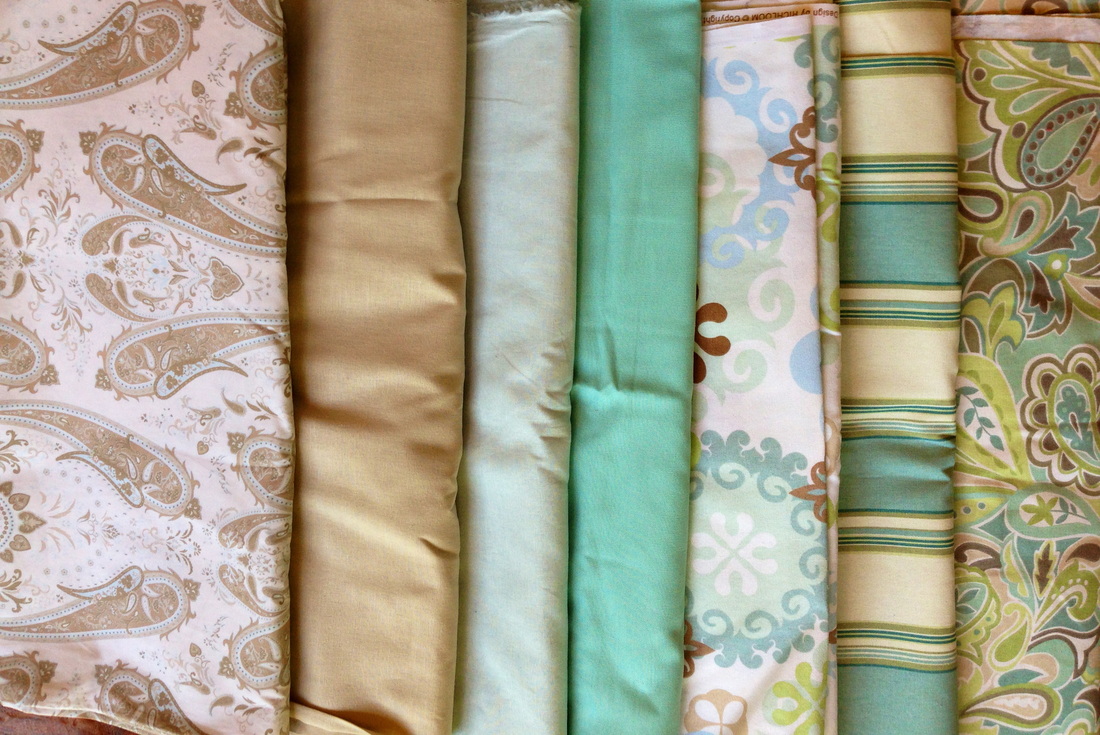
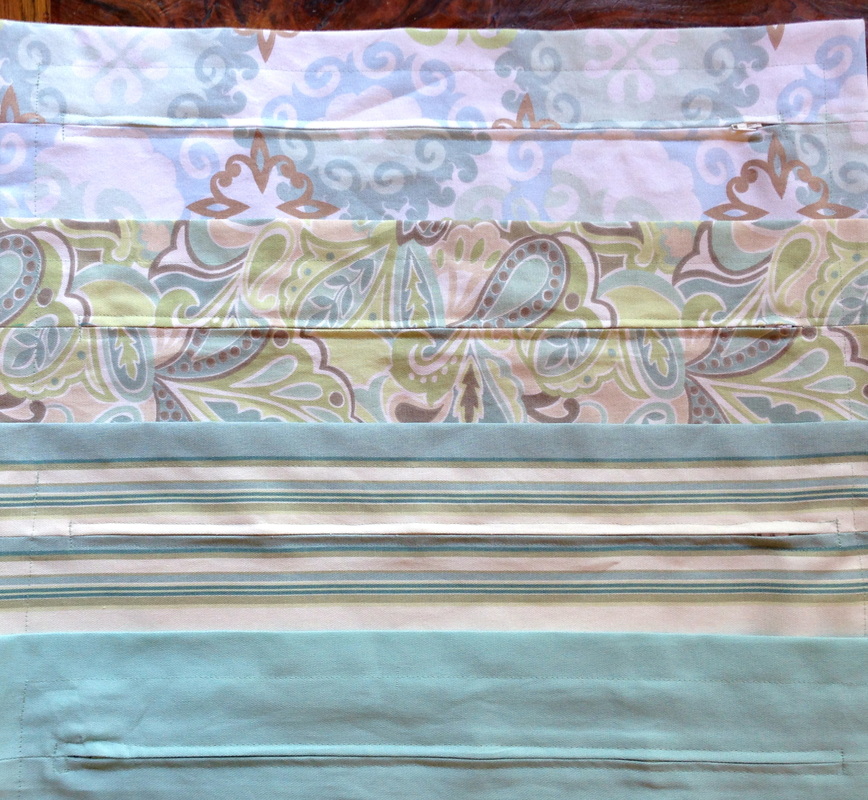
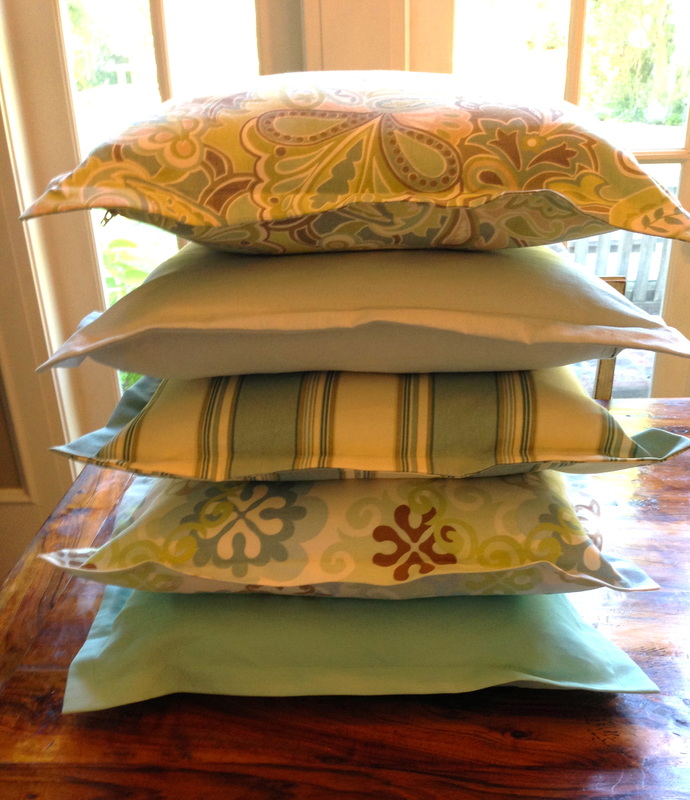
After shopping everywhere for pillows I decided I needed to make my own. I wasn't happy with the fabric selection of the ready-made pillows and the prices (ranging from $35 - $90) were crazy. After a quick trip to the fabric store (Joann's and Michael Levine in downtown Los Angelels) and IKEA (for down pillow inserts) I was all set. My cost for a 20" x 20" pillow is about $11.00.
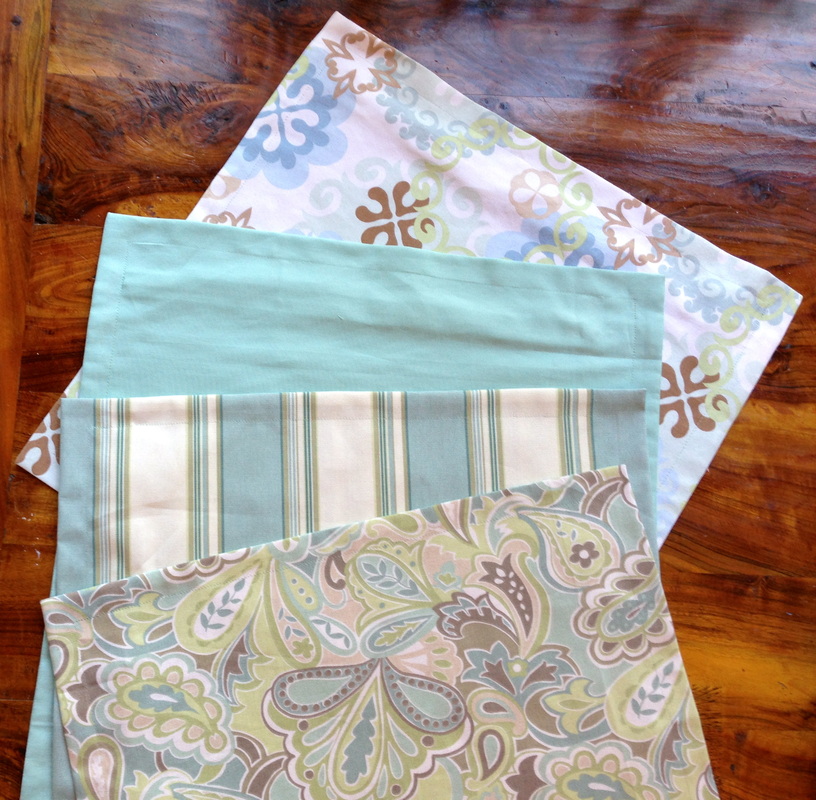
The fabrics above represent all of my purchases. I think I bought enough fabric for 12 throw pillows and four floor cushions. I thought I would share how easy it is to make them!

What you will need:
20" x 20" down pillow insert (of course you can use any size) (cost was $6.00 at IKEA)
2/3 yard fabric (45" wide) (fabric was $4.00)
18" zipper (cost .50)
thread
iron and ironing board

Picture
Step #2
Fold the fabric so you have a folded piece measuring 22' x 21 1/2". Measure 2" in from both sides of the 22" length side and mark with chalk. The opening in the middle between the chalk mark is for your zipper and should measure 18".

Picture
Step #3
All seam allowances for the pillow are 1/2". Sew a two inch seam from the edge to your chalk mark on both sides. 
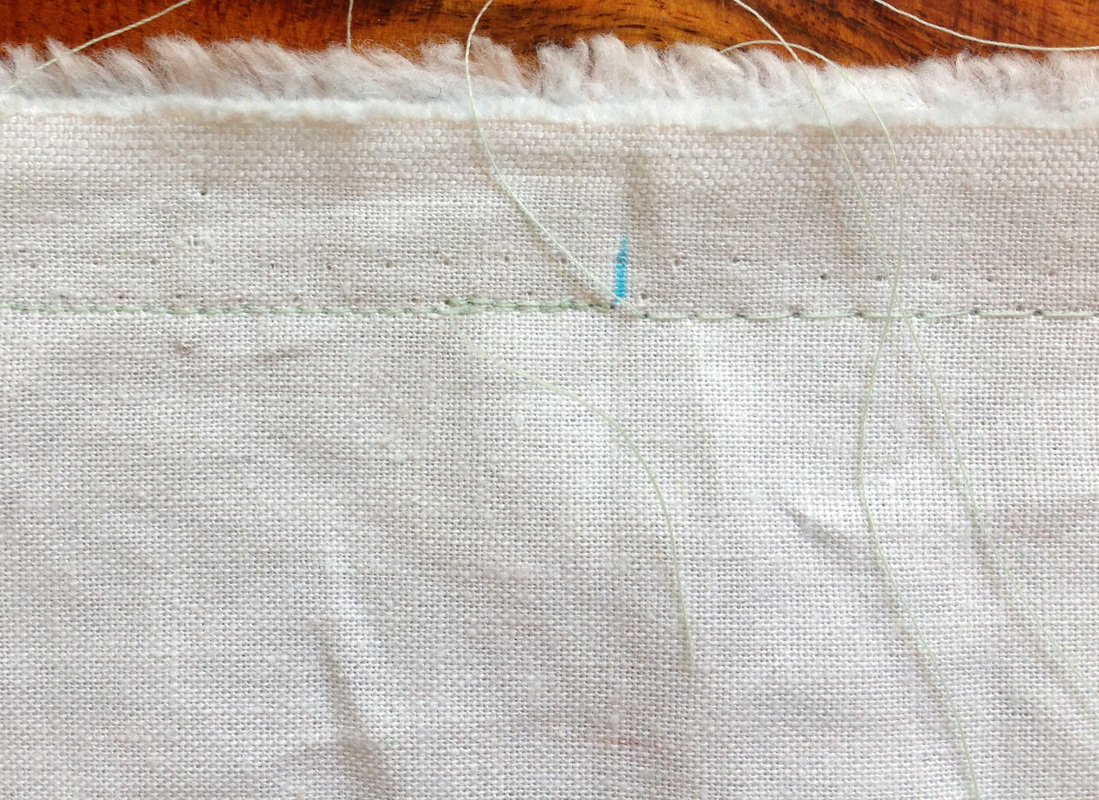
Baste the remaining zipper opening with a long stitch. Do not backstitch.

Picture
Step #4
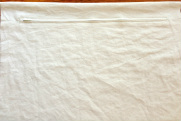
Press open the basted seam and pin the zipper on top. 

Picture
Step #5
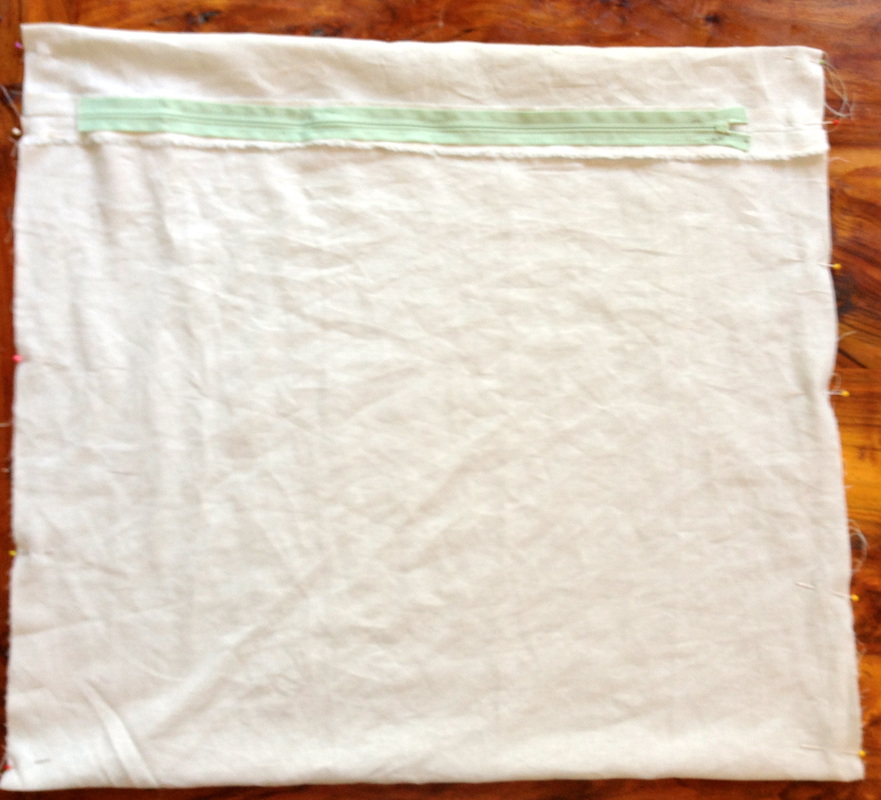
Using a zipper foot, sew in the zipper. Remove basting thread.


Picture
Step #6
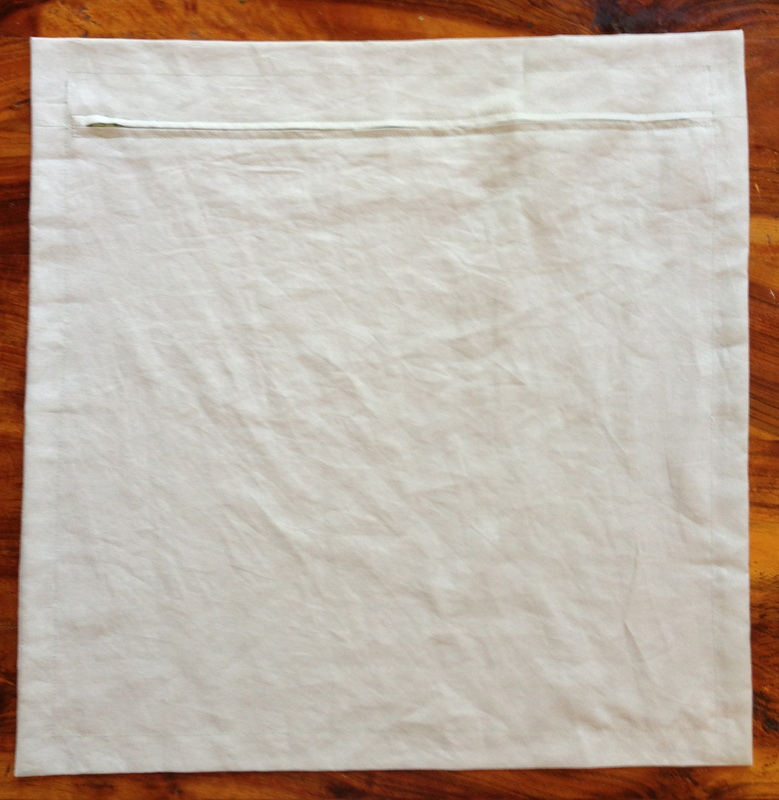
Turn the fabric right side in and fold the fabric above the zipper down 2 1/2". This allows room for the 1" sewn border that we will add at the end. If you put the zipper on the edge, you can't add the 1" border. Pin both sides and sew a 1/2" seam on both sides. Be sure to open the zipper about 6" before you sew the edges or you won't be able to turn it right side out! (I found this out the hard way  on the first one ...)

Picture
Step #7
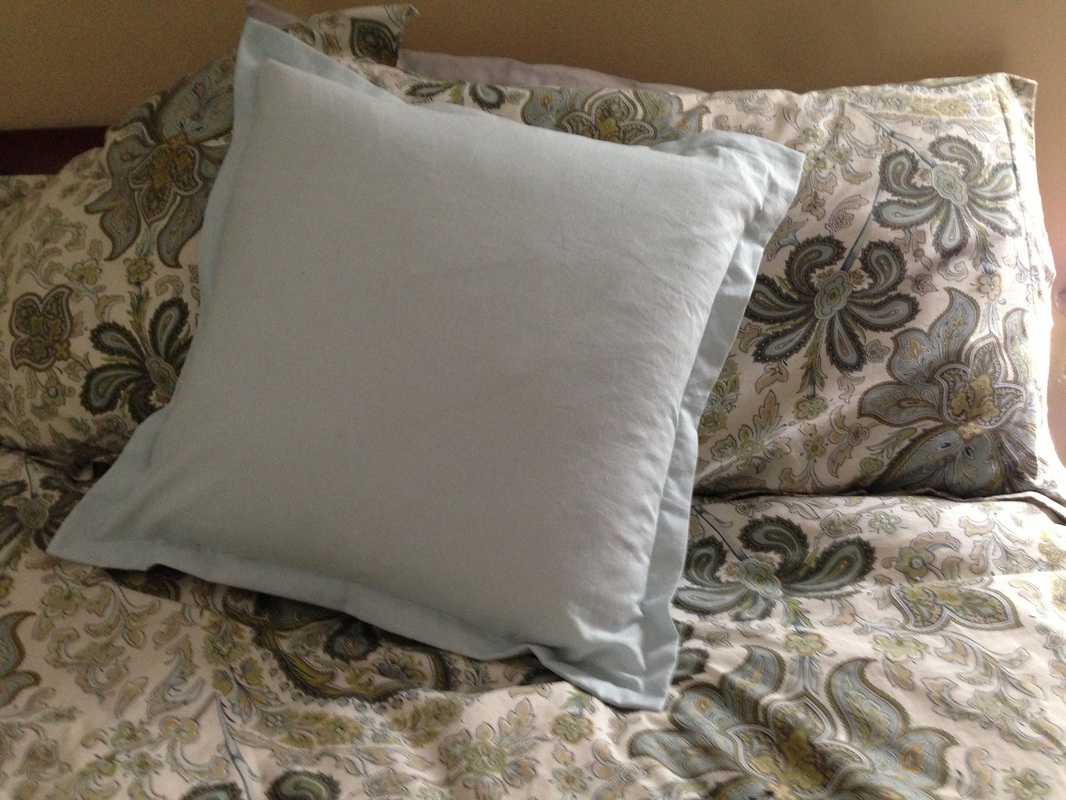
Turn pillow right side out and press. Stich a 1" border all the way around the outside edge of the pillow. 
Insert down pillow form. 
You're done!

Picture
2 Comments

progress ...

8/15/2013

1 Comment

 
We left for Italy the day we closed escrow on the beach house. Luckily I was able to hire a contractor who started and accomplished a lot while we were out of town. In two weeks the house looks entirely different!
I was nervous driving up to the beach house on Monday, even though I had received a lot of pictures while we were on vacation. I guess I was afraid it wouldn't look that different. But when I opened the door I almost cried with relief! In a nutshell it seemed that all of the "icky" stuff was gone and I could see where we are headed. I think my plan to transform a 1970's house to a 1920's beach cottage is going to work!
The most dramatic change was the nine inches of ceiling height gained by taking out the "disco" ceiling tiles in the downstairs family room. Plus the cottage cheese ceilings were gone, the carpet, fake beams and space ship lights were gone; the bathrooms and kitchen were gutted and plumbed; and ceiling lights were roughed in for the entire house. The plumbing for the outdoor warm shower was also added.
I have been shopping a lot, and thanks to some of you who told me to go to Home Goods I found my dishes, silverware and glassware there (plus lots of other stuff). I also bought all of the fabrics for the pillows (that will be my next post!). And I have new guest robes which all need to be embroidered with the logo for the beach house.
The pictures above are updates on progress. 
#1 and #2 - Tonge and groove ceiling installation has started in the upstairs family room. Love it!!!
#3 - Downstairs family room ... which no longer has the "weird ceiling", and is now likely to get tongue and groove added to the ceiling. I have to decide tomorrow!
#4, #5, #6 - Kitchen cabinets getting installed ...
#7 - New shower in upstairs bath (it's bigger due to the closet that was eliminated). We added a bench and it's ready for drywall and tile.
#8 - This is my best buy yet. I found this vanity at the Restoration Hardware outlet (which is 10 minutes from the beach house). I got it for 35% of the original price and I have been looking everywhere for one of these!
#9 - Downstairs bath ready for drywall and tile.
#10 - I found this marble tile at Mission Tile West and the price was so great that I am putting it in both of the bathrooms. The subway tile goes in the shower and the hexagon is for the bath and shower floor.
#11, #12 - I had an epiphany with the furniture arrangement in the master bedroom. I have decided to place a sofabed in front of the closets. The sofa will "float" in the room and face out toward the bed. The reason for the location is because the view out of the sliding door is simply amazing and perfect when sitting on the couch! There is plenty of space to go around the sides of the couch and access the closets. I added the floor plan view photo above but I am not sure if any of this makes sense! You will have to trust me on this one.
So what's next?
Next week the windows and interior doors will get installed and drywall patching will be finished. Bathrooms will be mudded and ready for tile. The tle should arrive next week so there is a chance they might get started on that too. We are making so much progress! 
If you want to experience the beach house it will be available for rent and you should check out my workshops that will be held at the beach house. We will paint together and stay together!
1 Comment

kitchen design

8/6/2013

11 Comments

 
Picture
Picture
Picture
Picture

We are making progress in the kitchen. It has been gutted which included removing all of the cabinets, flooring and windows. The recessed lighting goes in today.

The cabinets have been delivered and assembly has already begun. I ordered the cabinets from Ikea. I talked to at least five people who have kitchen cabinets from Ikea and they all encouraged me to order them. The cost is about 1/4 of custom cabinets and selection is great.

I created an online plan of our kitchen using all of my measurements and then spent a few days designing the placement of the cabinets. I then finalized the plan at the ikea store and was able to qualify for the 20% discount. Yippee.

The appliances are ordered but I haven't yet decided on countertops. I had considered butcher block but there is a gorgeous white quartz stone that I am seriously considering. They are more expensive and over my budget but will last forever.

Let me know your thoughts!

11 Comments

board and batten

8/5/2013

4 Comments

 
Picture
Picture

There are a lot of things you can do to "take the 1970's" out of a house. Already we have scraped the cottage cheese ceilings and gutted the kitchen and bathrooms. Replacing the windows and interior doors helps too. And changing out the light fixtures and hardware.

I am most excited to add board and batten to a lot of rooms in the house. The look is very basic, has very clean lines and yet has a very dramatic impact on the entire house.

So hopefully starting this week we will add board and batten to the entry way, downstairs family room and bedrooms. I think it will be a very dramatic change. Do you agree? Do you like the photos?

4 Comments

    Enter your email address:

    Delivered by FeedBurner

    Author

    I am a mom, wife, artist and someone always looking for a "new project". According to my husband, this might be my biggest "project" yet.

    Archives

    November 2013
    October 2013
    September 2013
    August 2013
    July 2013

    Categories

    All
    Beach House
    Remodel

    RSS Feed

Leslie Saeta
lsaeta@saetastudio.com
626.799.8507
My art can be found here.